Ever feel like moving out is more about cleaning than new beginnings? You’re not alone. I once spent an entire weekend scrubbing and still almost lost part of my bond because I missed a spot under the stove.
Trust me, a solid end-of-lease clean can make or break your bond return – and your sanity. Moving home is stressful enough without the fear of missing a cobweb on final inspection day. Let’s chat about how you can hand back a sparkling rental, impress the property manager, and keep that hard-earned bond in your pocket.
In Perth, landlords and real estate agents expect the place “reasonably clean,” matching the condition report you got when you moved in. In practice, that means vacuumed or mopped floors; wiped walls, ledges and fixtures; grease-free kitchen appliances; and spotless bathrooms.
It’s not about achieving a magazine-grade showroom – it’s about ensuring no stains, grime or dust stand out. I’ll show you how to hit that standard without tearing your hair out. And don’t worry – if you ever feel overwhelmed, you always have the option of professional end of lease cleaning to get it done right.
The stakes are high: here in WA, consumer protection rules require tenants to hand back the home in much the same state as at the start of tenancy. That means you must clean the place and any yard before you move out.
Think of it as a final courtesy – keeping the property in that “reasonable state of cleanliness” keeps both you and your landlord happy. Follow this blog’s room-by-room guide so nothing gets overlooked, avoid those classic misses, and you’ll leave the property in tip-top shape. Your future landlord (and your wallet) will thank you.
Why This Checklist Matters – Protect Your Bond
Alright mate, imagine you’ve boxed up your life and handed in the keys, but a sneaky grease mark under the stove or a forgotten mirror streak turns your bond refund into a nightmare. Aggravating, right? In Perth’s rental market, real estate inspectors go over every inch with a fine-tooth comb.
Using this checklist is your secret weapon. It means you won’t skip cleaning the rangehood filters, neglected the skirting boards, or tossed garbage out after you’ve left. In fact, one Perth cleaning guide warns that rangehood filters are “the single most common item flagged on Perth exit inspections”. We’re going to tackle all of that, room by room, so you don’t become another “forgot-the-filter” horror story.
So yes, I know End-of-lease cleaning sounds like yet another chore on an already long to-do list. But consider it an investment: a few hours now could save you hundreds in bond disputes later.
Plus, you’ll sleep easy knowing the place is back to how it should be. Now, let’s dive into the nitty-gritty. We’ll start with the legal angle and then move through every room, from the kitchen to the alfresco area, making sure you know exactly what to clean and how.
Your WA Tenancy Obligations – What the Law Says
In WA, tenants are legally bound to return the rental “in a similar condition” to how it was at the start, fair wear and tear excepted. In plain English, this means your landlord expects you to leave the place just as clean (or dirty) as when you moved in.
The Residential Tenancies Act 1987 essentially says the home should be in a reasonable state of cleanliness by the end of your lease. It doesn’t mean you have to leave the place spotless like a movie set – but you do need to remove all trash, dust, grease, stains and cobwebs.
A practical way to meet this standard is by comparing the final condition to your “move-in” report. If the property looked tidy and cared-for then, it should look the same now. As one WA tenant guide puts it, tenants must “hand back the home in a similar condition to how it was at the start of the agreement, clean the home and any gardens”. So yes – garden tidy-ups count too!
Remember your landlord can’t hit you with surprise professional cleaning fees or charge extra just because you did it yourself. The goal is the standard of clean, not who does it. If you meet the benchmark (which we’ll help you do), you should walk out without losing a cent.
Room-by-Room Cleaning Tasks
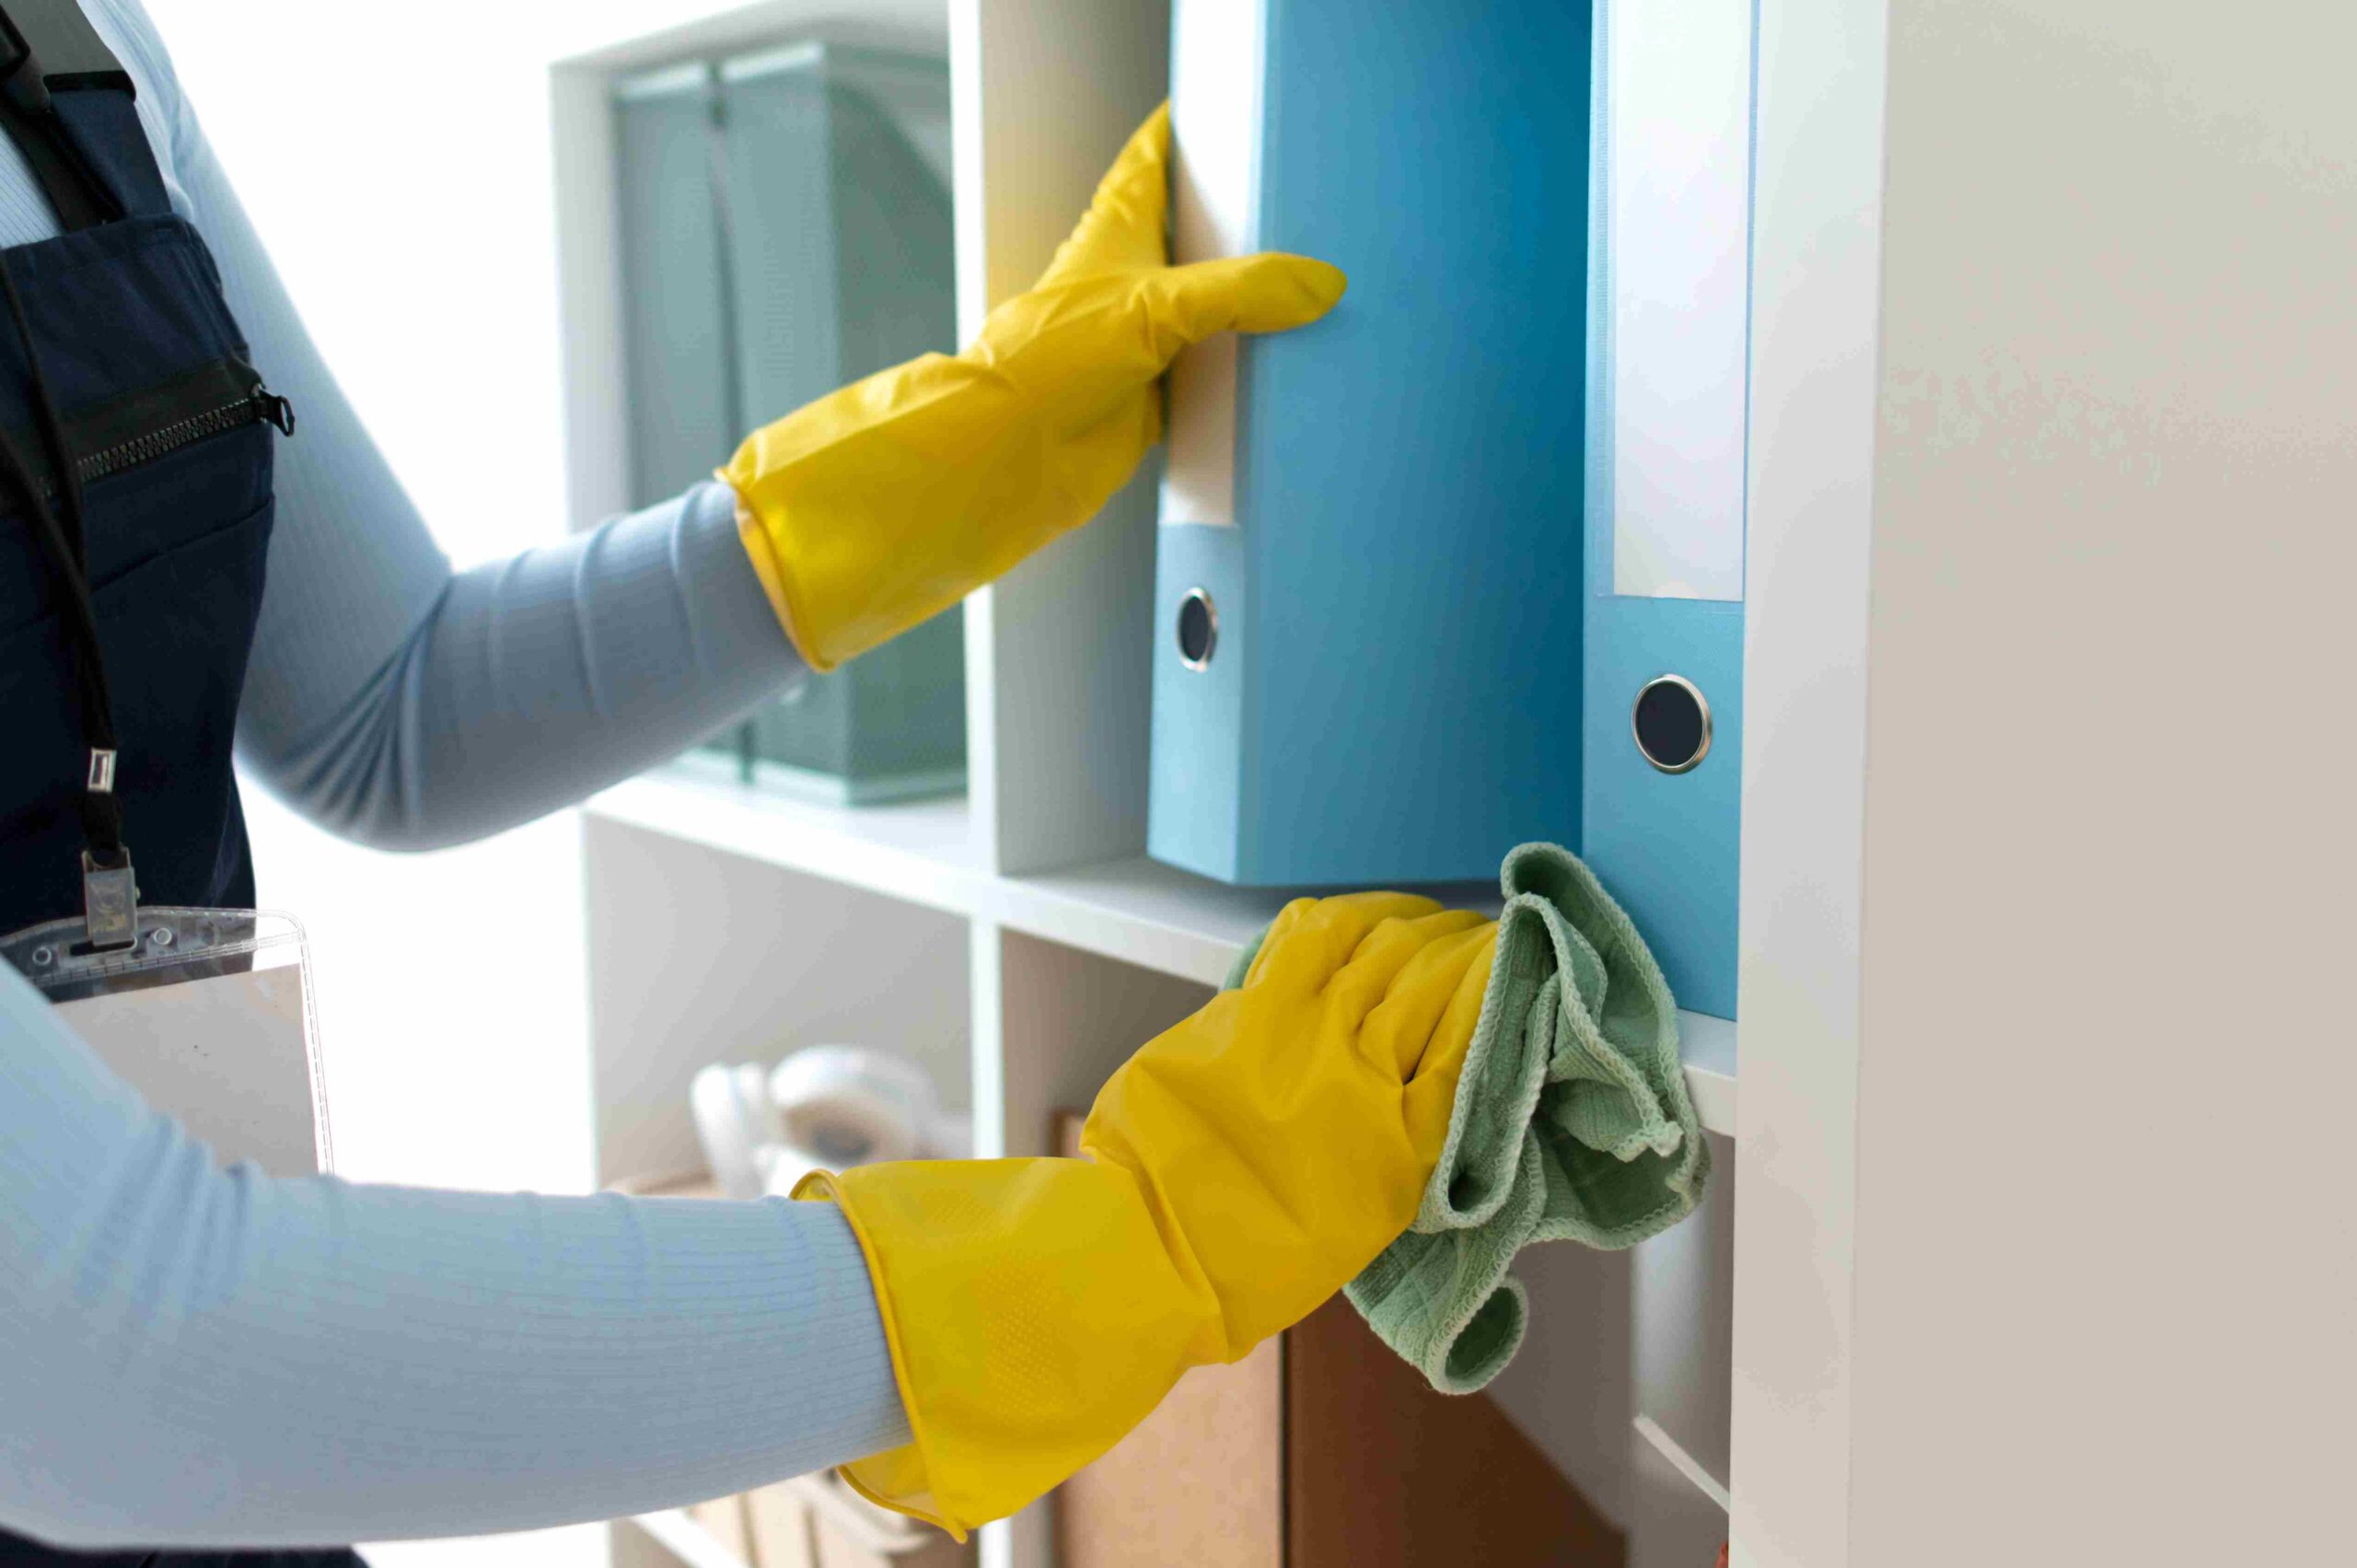
Let’s roll up our sleeves and go through each area of your place. Tackle higher surfaces first (ceiling fans, light fittings, shelves), then finish with floors. Use this checklist to tick things off. By the time you’re done, the place will be gleaming – and you’ll be ready for the final inspection.
- General Tips Before You Start: Ventilate the place, gather supplies (microfiber cloths, mop, vacuum, multipurpose cleaner, degreaser, sponges, garbage bags, etc.), and refer to your original condition report. Play music or your favourite podcast to keep morale up – cleaning doesn’t have to be miserable. (Pro tip: Use vinegar or baking soda for a natural degreaser on tiles and ovens.)
Kitchen
The kitchen is where most bond disputes start. Grease and grime build up in hidden corners – so leave no stone unturned. Here’s what to do:
- Oven & Cooktop: Thoroughly clean the oven interior, racks, trays and door glass (inside and out). Degrease the cooktop burners and drip trays.
- Rangehood & Filters: Remove grease from the rangehood exterior. Don’t forget this bit people skip – soak the removable filter in hot soapy water until it shines. It’s the single most commonly flagged item, so get it spotless.
- Benchtops & Splashbacks: Wipe down all bench surfaces, splashbacks and tiles with an appropriate cleaner. Remove any food spills or stains.
- Cupboards & Drawers: Empty and wipe out inside and outside of all kitchen cupboards and drawers. Even forgotten crumbs can cause deductions.
- Sink & Appliances: Clean the sink basin and taps (descale the spout if mineral deposits are visible). Empty and wipe inside the dishwasher and fridge – removing any food and stains. Wipe and polish exterior surfaces.
- Floors & Walls: Sweep/vacuum floor, then mop. Touch up any grease spots on the walls and skirting boards.
Remember: a spotless oven, a de-greased cooker and an empty, crumb-free bench are signs you’ll ace the kitchen inspection. Keep a small table above or attach a checklist (like this one) on your fridge, so nothing is missed.
Bathroom & Laundry
Bathrooms and laundries are dirt magnets, so double-check these tasks:
- Shower & Bathtub: Scrub the shower screen (inside and out) and remove soap scum from glass or tiles. Clean tile grout lines; use a grout brush or baking soda paste for mold. Wipe down shower fixtures and remove any limescale from taps and showerhead (descale if needed).
- Toilet: Fully clean the toilet bowl, seat, lid, and cistern (inside and out). Also wipe the base and surrounding floor. Dirt hides under the rim – scrub it thoroughly.
- Vanity & Mirror: Empty the vanity cupboard, wipe shelves, and clean the sink, countertop and taps. Polish any mirrors and glass cabinets until they sparkle.
- Accessories: Wipe towel rails, soap dishes and toilet paper holders. Don’t forget light fittings and exhaust fan covers – the little things get noticed. (Tip: Unscrew the exhaust cover and rinse it under the tap; it often holds dust.)
- Laundry Tub & Area: Clean the laundry tub or sink and taps. Wipe behind and around the washing machine (pull it out if you can). Empty the lint filter on the dryer. Sweep and mop laundry floors.
Consistent sponge-swishing and ventilation will help you avoid that damp, musty feel. A final wipe of floors and mirrors will have the bathroom looking brand new.
Bedrooms & Living Areas
These high-traffic and always-used spaces need a thorough once-over:
- Floors & Carpets: Vacuum all carpeted areas carefully (use attachments to reach edges). Sweep and mop hardwood/tiles. If carpets had major stains beyond vacuuming, consider a professional steam clean, especially if the lease or your pet requires it.
- Cupboards & Closets: Inside wardrobes, remove shelves/rails dust, wipe surfaces, and vacuum out any debris. Don’t forget the tops of built-ins – dust collects up there. Clean window tracks and fly screens.
- Walls, Skirting & Mouldings: Spot-clean any wall marks or scuffs. Check for crayon, pencil or pen marks if kids lived there, and dab them off. Wipe down skirting boards, door frames and architraves – a quick polish cloth on trim makes a difference.
- Windows & Mirrors: Clean windows (inside) and any window frames or sills. Spot-clean glass panels and mirrors until streak-free.
- Fans & Lights: Dust ceiling fan blades and light fixtures. Replace any burned-out bulbs. Flick a damp cloth over lampshades or blinds slats to lift dust.
- Furniture & Appliances: If the property came with appliances (like a fridge/freezer) or furniture, wipe them down thoroughly inside and out.
Hallways & Entrances
Don’t ignore the walkways – they connect every area:
- High-touch Spots: Clean light switches, power outlets, and doorknobs (front and back) – these germ magnets can look dingy.
- Walls & Rails: Check for hand marks on hallway walls and streaky stair railings. A quick wipe with mild detergent usually removes these.
- Floors & Stairs: Vacuum stair treads or hall carpets thoroughly. Sweep then mop hard floors. Move anything you can (rugs, mats) to clean underneath.
Garage, Balcony & Outdoors
Many inspections include external areas. Quick fixes can save face:
- Sweep Surfaces: Sweep patios, balconies and garage floors to remove leaves, dust and cobwebs. If you spilled any oil in the garage, use an oil cleaner or degreaser on stains.
- Remove Cobwebs: Snag cobwebs from corners and ceilings of the garage, balcony and any windows/doors. Even a quick broom swipe can reveal a cleaner look.
- Bins & Garden: Rinse out any large bins or put lids back. If you have a small garden patch, clear excessive weeds or trim the lawn (if applicable) – not thoroughly required, but pulling obvious weeds shows you cared. Remove all trash from outside and inside.
A clean entrance and yard says “I valued this place,” and leaves a good last impression.
DIY vs Hiring a Cleaners – Which to Choose?
It’s tempting to tackle the list yourself to save cash – and you totally can do it. But be honest: do you have the time, tools, and energy? If you’re swamped or just want peace of mind, calling in pros can be worth it.
Professional end-of-lease cleaners know exactly what real estate managers expect (they live and breathe those checklists!). They’ll often guarantee bond return success and bring industrial-strength tools. Here’s a quick comparison to help you decide:
| Task | DIY Approach | Professional Service |
|---|---|---|
| Cost | Lower cost (just supplies & time) | Higher cost (fees) |
| Time & Effort | High – you scrub, mop, climb step stools | Low – you relax, they do the grunt work |
| Quality Control | Depends on your thoroughness | Usually high, with bond-back guarantee |
| Equipment/Supplies | Need to buy or rent heavy-duty cleaners/tools | They bring eco-friendly, industrial gear |
| Convenience | You juggle packing, moving and cleaning | One less stress – they handle the clean-up |
| Result | Good if you’re diligent; risk of missing details | Consistently thorough (especially for pet stains or stubborn marks) |
Either way, plan ahead. If DIY, start at least a week before moving so you’re not rushing. If hiring a cleaner, book early (popular services fill up quickly in Perth’s busy seasons). Whichever path you pick, the goal is the same: hand back a spotless place.
Break cleaning into chunks – tackle one room per day. Enlist a flatmate or partner for moral support (and to make it fun). Reward yourselves with takeaway pizza once the deed is done!
Seal the Deal – Final Checks & Touches
By now, you’ve scrubbed, swept and polished. Before the final walk-through, do a “boss walk”: go from top to bottom as if you were the inspector. Open every cupboard, behind doors, under sinks – look for dust bunnies or missed spots.
Wipe fingerprints off mirrors and glass one last time (use newspaper or a microfiber cloth for streak-free shine). Double-check you’ve replaced any broken light bulbs and reinstalled any fixtures you removed (like the exhaust filter).
Take photos of each room after you finish as proof of cleanliness (they could be handy if there’s a dispute). Also, keep any receipts if you had carpets or blinds professionally cleaned – many agencies ask for evidence of paid services.
Once everything’s box-checked, gently pop that key back to your agent and cross your fingers. You’ve done your absolute best – clean as a whistle. Now kick up your heels: with a bit of luck (and a great checklist), you should see your full bond deposit slide back into your account soon.
Conclusion
So there you have it: a detailed end-of-lease cleaning game plan, Perth-style. You’ve learned exactly what the law expects and how to make every nook and cranny shine.
Remember, starting early and working methodically will make life a lot less stressful – and might save you cash by avoiding last-minute pro cleans. If you ever feel overwhelmed, don’t be shy to reach out to professional cleaners who specialise in end-of-lease services for a helping hand.
You’ve got this! A sparkling home awaits its next tenant – and a full bond refund awaits you. If you found this guide handy, why not share it with a flatmate or fellow Perth tenants? Now get cleaning (or relax and let the pros do it) – and happy moving!
Frequently Asked Questions:
How do I know what “reasonably clean” means?
It basically means leaving the place in no worse state than at the start. Remove all dirt, rubbish, grease and stains you caused. If the house was professionally cleaned before you moved in, aim for a similar standard. Check your original condition report – the property should look as clean and cared-for as it did then.
Can a landlord force me to hire professional cleaners?
No, WA law doesn’t mandate professional cleaning. You only need professionals if it’s the only way to return the property to its original condition. Otherwise, a thorough DIY job is fine. Landlords can’t charge you for a cleaning company unless your clean falls below a reasonable standard.
Is steam cleaning carpets necessary every time?
Only if it’s needed to remove stains and restore the carpet’s condition. The tenancy agreement might specify a carpet clean if you had pets. Otherwise, vacuum well and only do steam cleaning if required. Having a steaming receipt can help avoid dispute if they do insist later.
What if something gets damaged during cleaning?
Clean carefully, and take note of any issues before you start. Minor accidental marks (like a scuff while moving furniture) usually fall under “fair wear and tear.” For larger damage, it’s best to disclose it to your landlord. Also, keep any cleaning receipts and be honest – you’d rather discuss repairs upfront than lose your bond later.